BrickStor SP Jumpstart Guide
Step 1: Build Your VMware Virtual Machine
Estimated time to complete: 15 minutes
System Requirements
BrickStor SP can be deployed on VMware vSphere version 6.7 or newer. The target virtual machine must be configured accordingly to meet the specific software and hardware requirements outlined below.
| Resource | Specification |
|---|---|
| vCPU | 4 |
| OS (operating system) disk | 164 GB (100 base + 64 memory) |
| Data disk | *GB |
| vMemory | 64 GB |
| Network adaptor | VMXNET3 |
| CD/DVD drive | SATA CD/DVD drive |
| Storage controller | VMware Paravirtual |
| Boot mode | EFI/UEFI |
| Guest OS | Other 64-bit |
*Data disk is a separate virtual disk for creating SMB/NFS shares. Allocate sufficient amount of capacity based on your application. Capacity is modifiable after install.
Installer System Prerequisites
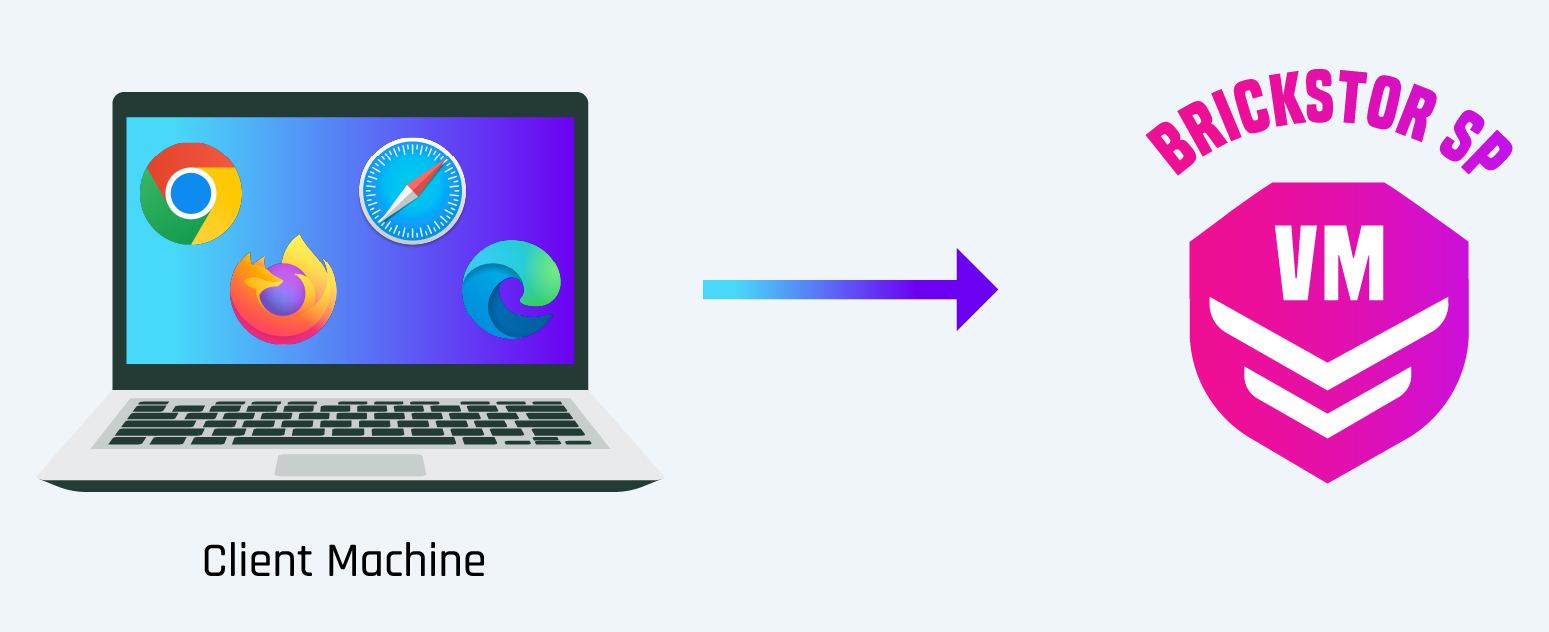
Installer system refers to the client machine performing the installation. The installer system requires internet access during the installation in order to activate the product.
Supported browser versions:
- Google Chrome 109 or newer
- Mozilla Firefox 114 or newer
- Microsoft Edge 114 or newer
- Apple Safari 16.2 or newer
The BrickStor SP installer uses DHCP to establish a network connection.
Once a network connection is established, the BrickStor SP installer web UI can be accessed from the network client machine (Windows, macOS, Linux) using a modern internet browser.
Now you are ready to create the VM
Download BrickStor SP Installer
- Using a web browser log in to the MyRackTop customer portal https://www.myracktop.com.
- Navigate to Downloads, and download the latest Install Image (ISO).
- Upload the downloaded ISO to your ISO Datastore or Content Library.
Create a New Virtual Machine
- Using vSphere or vCenter client, create a new VM.
- Assign a name to the created VM and select optimal compute and storage resources.
- Accept default compatibility or select the most recent version available.
- Choose Guest OS:

- Customize hardware
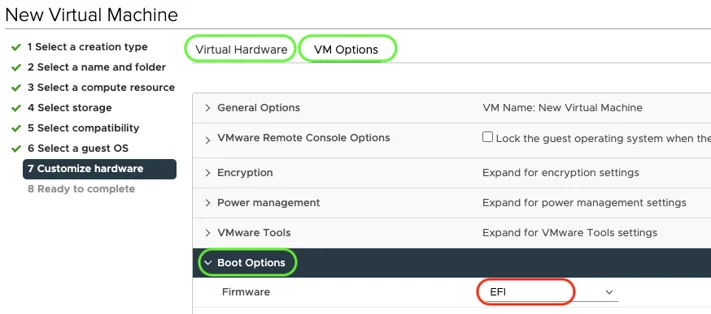
- Select VM Options tab
- Expand Boot Options and pick EFI
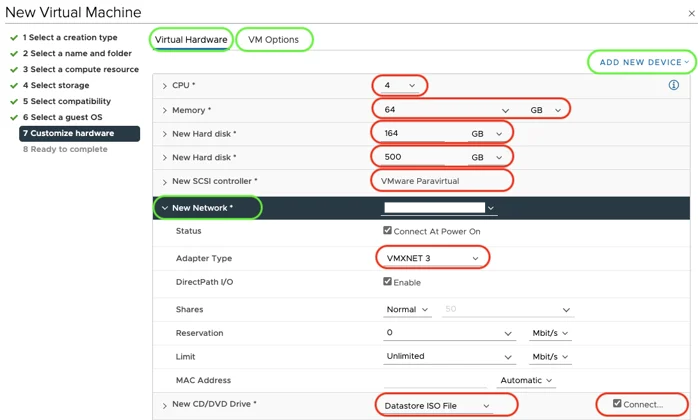
- Select Virtual Hardware tab
- Set CPU to 4 or more
- Set Memory to 64 GB or more
- Set New Hard disk to 164 GB + memory. This is OS disk.
- To add an additional disk, select Add New Device at the top-right corner and choose Hard Disk. Then, configure size for this disk based on required storage capacity and/or storage license.
- Change New SCSI controller to VMware Paravirtual
- Expand New Network and change Adapter Type to VMXNET 3
- Attach BrickStor SP ISO using New CD/DVD Drive and check Connect at Power On checkbox.
- VM options:

- VM settings:

- Click Next and Finish to create this VM.
- Power on the VM:
- To power on, right-click on the VM; choose Power > Power On or with the VM selected, click the Play button on the action bar.
- Launch VM console:
- To launch the VM Console, right-click on the VM and choose Open Remote Console or with the VM selected, click Launch Web Console button.
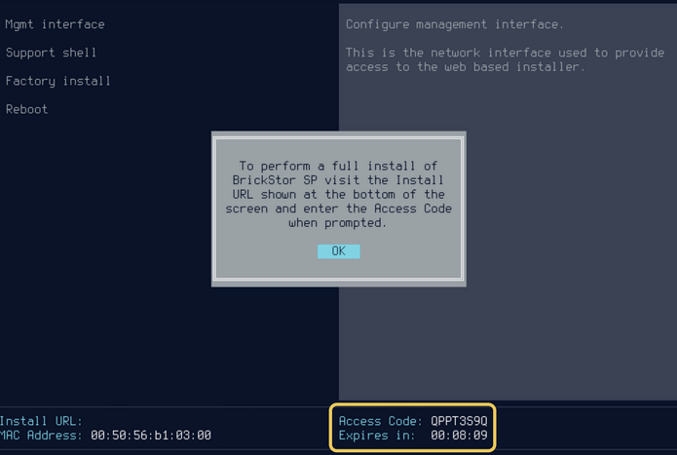
- Once the VM is booted, note the IP Address and the Access Code. You will need this to continue with installation.

