BrickStor SP Jumpstart Guide
Step 2: Installation
Estimated time to complete: 15 minutes
Install BrickStor SP
- Using a client machine, open a modern internet browser and enter https://IP_OF_YOUR_BRICKSTOR into the browser’s address bar. Press Enter.
- Enter the Access Code that was generated during the creation of your VM.

- Once the Access Code has been entered, click the Login button.
- The installer home page will show.
- Click Install.

- Read and accept the End User License Agreement.

- The Activate screen will show.

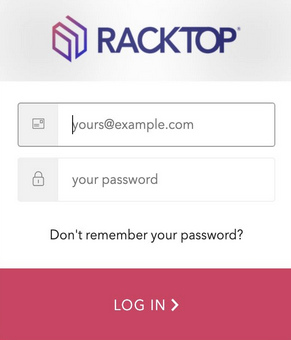
- Click the Activate Now button. You will be redirected to log in to the MyRackTop customer portal https://www.myracktop.com.
-
- Select your entitlement to activate the installation.
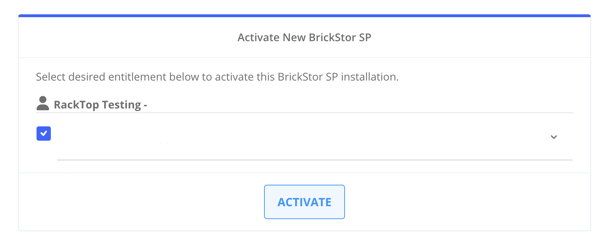
9. Click the Activate button. A confirmation will appear. Click Continue Installation to get redirected back to the installer.

10. The installer wizard will show a green check mark and a message confirming successful activation.
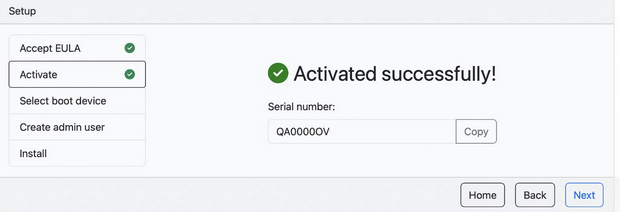
11. Select a boot device.
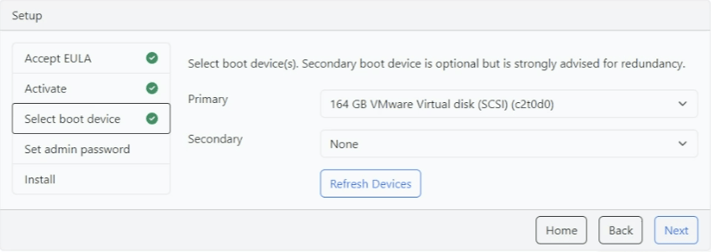
12. Select the Primary boot device from the provided device options. Set Secondary to None.
13. Once the correct boot device has been selected, click the Next button to continue.
14. The default admin username is bsradmin and cannot be changed. Set and confirm default admin user password.
-
- Password must be strong and at least 8 characters.
- Re-enter to Confirm.
- Click the Next button to continue.
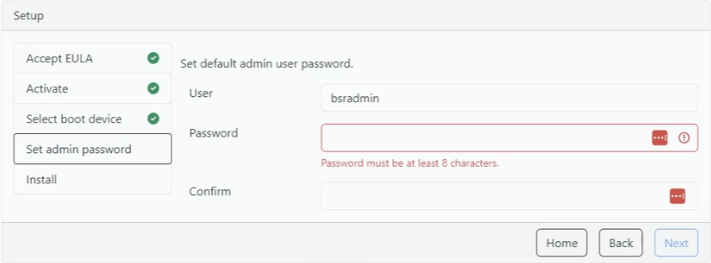
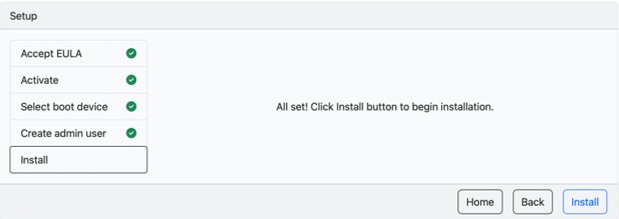
15. Upon successful completion, the Install screen will show.
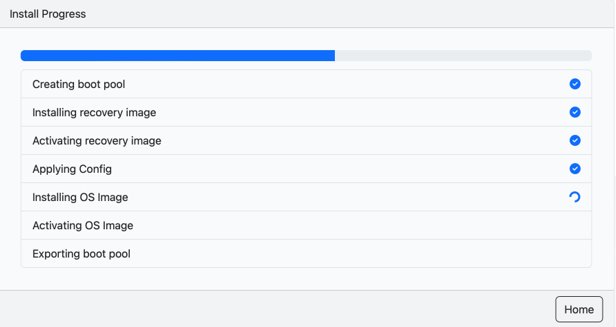
16. Click the Install button to begin the installation. A progress bar and description of the installation process will be displayed. Closing or refreshing the page will not interrupt the installation.
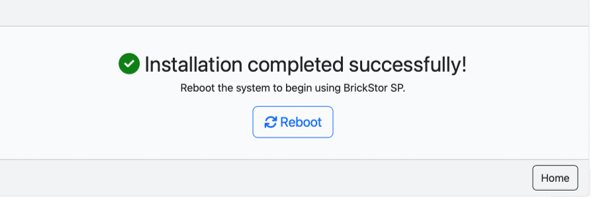
17. Once the installation is completed a prompt will ask to reboot the system.
18. Click Reboot.
19. Remove the installation media from the VM.
- Using VMware vSphere client, select desired target VM then choose Actions > Edit Settings.
- In the VM Edit Settings expand CD/DVD drive 1.
- Using the dropdown menu select Client Device option.
- Click OK.
